Doodle with Strangers! Multi-User HTML5 Canvas with PubNub API
Note: I originally wrote this article for PubNub Blog, but I am re-posting it with a bit more personal touches here at girliemac.com.
Well, first of all, I left Nokia for the second time. It has been interesting two years at Nokia Sunnyvale office. One of the best accomplishments there is becoming an open web advocate and worked with W3C while I was there.
Now, I joined a San Francisco startup, called PubNub, which provides data streaming network. This is quite a change for my career because I have been exclusively working for mobile space, and this is the first time working outside of the industory since 2005. Playing with data is fun, and I thought using the data with Internet of Things (IoT) may be more fun, too. Well, I am not really hardware savvy, so I will need to learn more about it.
Yep, I am still a mobile geek, and an open web advocate at heart, naturally my first project at PubNub was about HTML5 web app (that of course supports touch events!). So here’s the digest version of my article. For full article, please read it on PubNub!

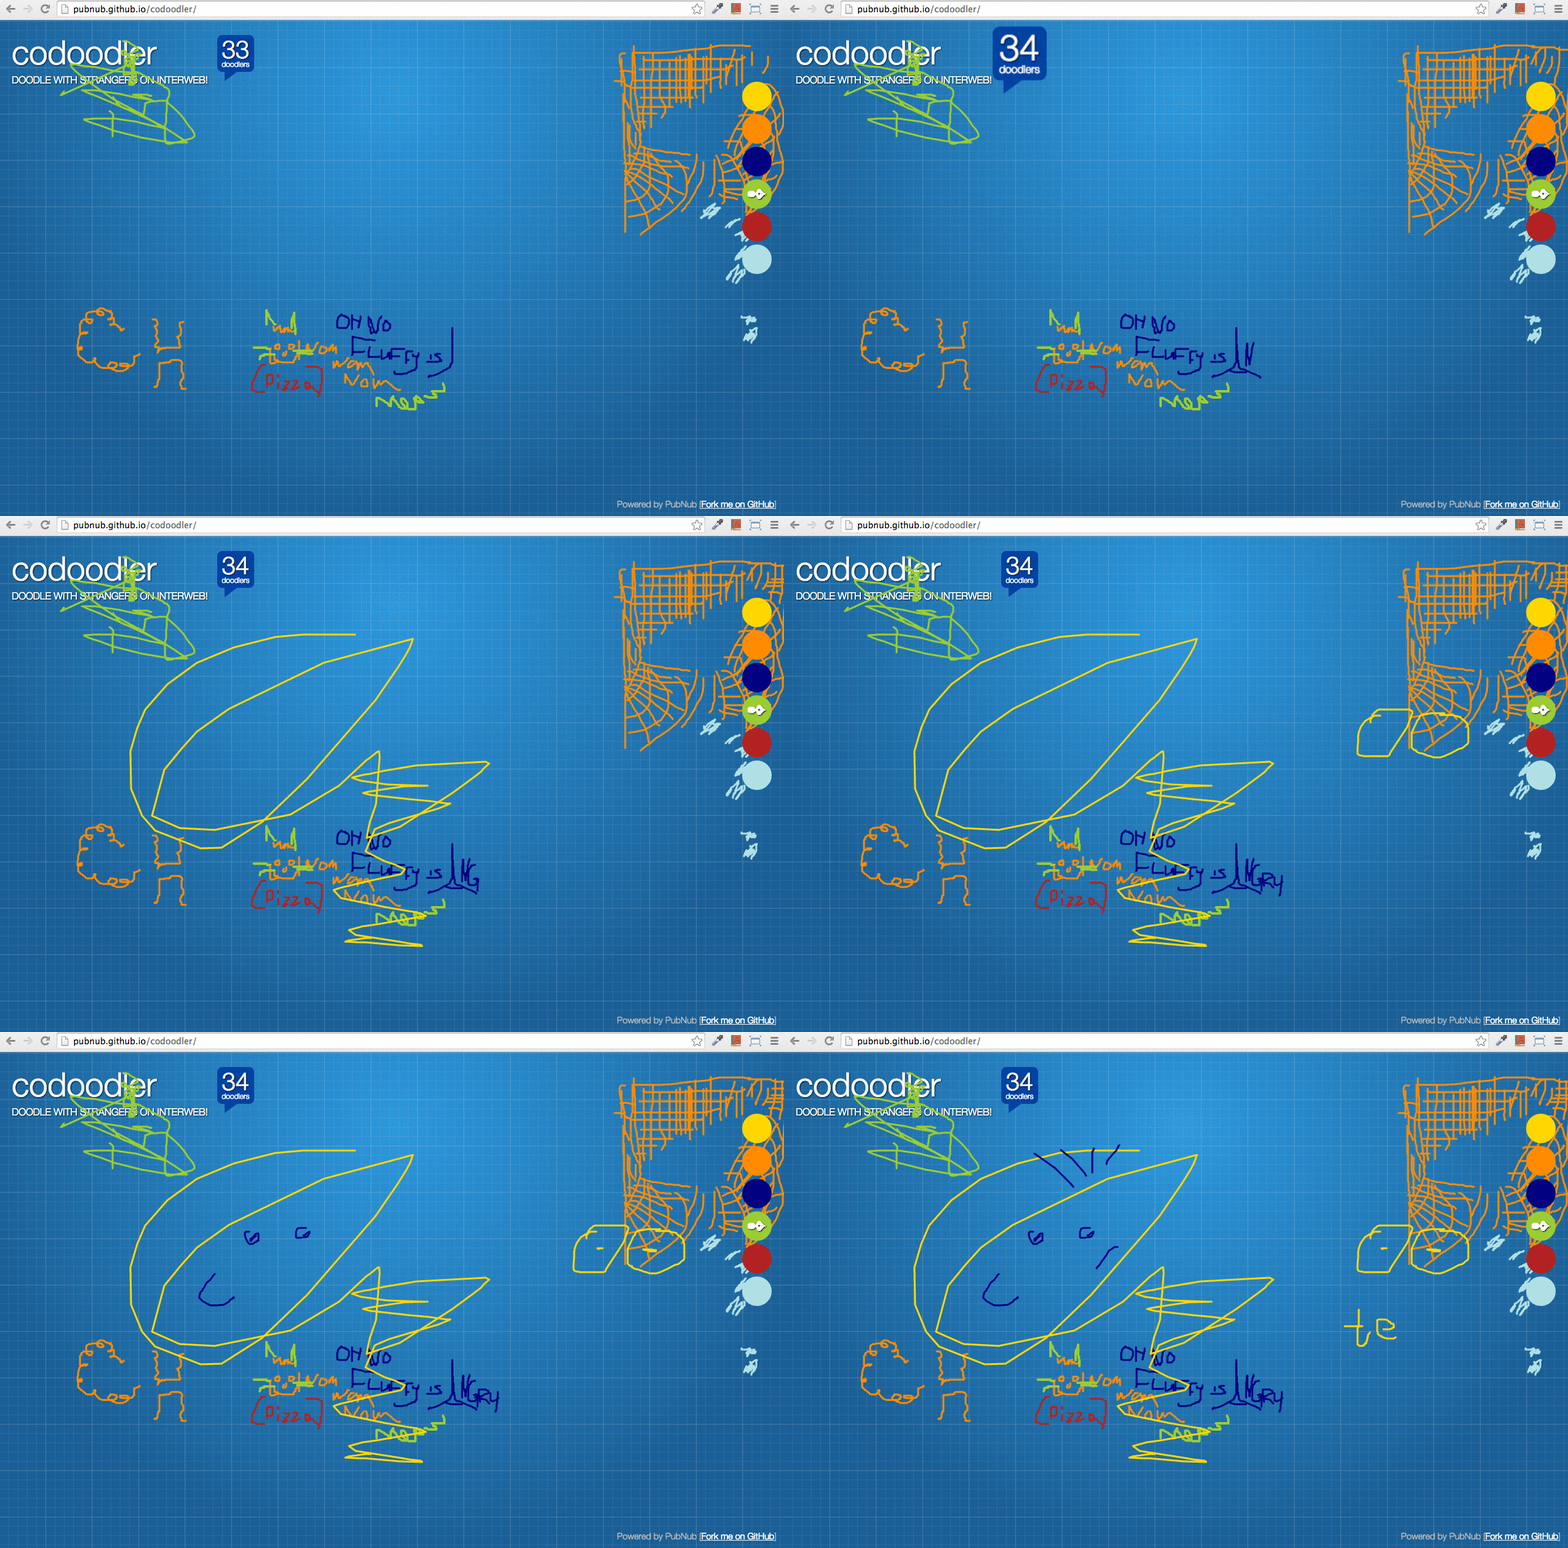
This screencast is an actual screencast that I took while some total strangers on the InterWeb were doodling. Just about the time my free version of RecordIt terminated recording, the last person started drwaing “Teh Boobs” [sic] on purpose, supposedly!
OK, so this tutorial shows you how to create a very simple doodling web app that allows multiple users draw on the canvas at the same time, using PubNub realtime JavaScript API.
Try this demo first, and continue reading the article and view the entire source code on github and the simplified code on Codepen to follow the basic tutorial to fork and tweak by yourself.
Creating Basic Interactive Drawing with Canvas
Let’s create a drawing canvas.
<canvas id="drawCanvas" width="800" height="600"></canvas>
var canvas = document.getElementById('drawCanvas');
var ctx = canvas.getContext('2d');
Now, take a user input to make the canvas drawable. This is how it works-
Free-drawing action is initiated when a user clicked on the canvas. A line is drawn dynamically as long as the user is holding the mouse down, and ends when it is released.
Let’s create some functions, which should be called upon the mouse events on canvas. The events to be observed are mousedown, mousemove, and mouseup:
canvas.addEventListener('mousedown', startDraw, false);
canvas.addEventListener('mousemove', draw, false);
canvas.addEventListener('mouseup', endDraw, false);
To include touch and pointer events support for touch-screen devices, read my old article, Touchy-Feely with DOM Events: Rethinking Cross-Device User Interaction.
Now, you are going to write a draw function, which traces the mouse path by collecting the canvas coordinates into an array, then starts drawing the path on canvas with beginPath() method, connect each coordinate with lineTo(), and stroke() to complete drawing the path, while a flag, isActive is set true.
// create a flag
var isActive = false;

// array to collect coordinates
var plots = [];

function draw(e) {
  if(!isActive) return;

  // cross-browser canvas coordinates
  var x = e.offsetX || e.layerX - canvas.offsetLeft;
  var y = e.offsetY || e.layerY - canvas.offsetTop;

  plots.push({x: x, y: y});

  drawOnCanvas(plots);

}
Connecting all the (x, y) coordinates and draw a line by using canvas methods.
function drawOnCanvas(color, plots) {
  ctx.beginPath();
  ctx.moveTo(plots[0].x, plots[0].y);

  for(var i=1; i<plots.length; i++) {
    ctx.lineTo(plots[i].x, plots[i].y);
  }
  ctx.stroke();
}
Write other two functions to toggle the flag. Also empty the array after each line is drawn.
function startDraw(e) {
  isActive = true;
}

function endDraw(e) {
  isActive = false;

  // empty the array
  plots = [];
}
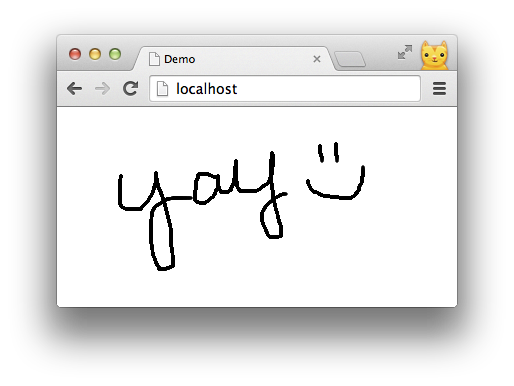
Yay, you just have create a very simple drawing web app! Go on to the next step to make it even more interactive.

Making It Collaborative with Multiple Users
Here’s the fun part- you are going to make it as a multi-user app.
This is where you are going to use PubNub APIs. You don’t need to learn anything special here as long as you’re comfortable with JavaScript. Not even WebSocket knowledge, or node.js.
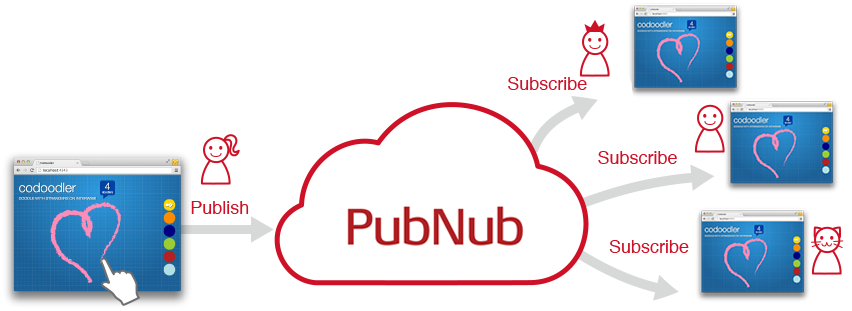
OK, so you can make it collabolative by publishing and subscribing the drawing path to data stream. Get your PubNub API keys ready, if you don’t have one yet, sign up to get your own unique keys.
When you are ready, include the JavaScript libraries in your HTML to begin.
<script src="http://cdn.pubnub.com/pubnub.min.js"></script>
Initialize the API.
var channel = 'my-draw-demo';

var pubnub = PUBNUB.init({
	publish_key: 'your-publish-key',
	subscribe_key: 'your-subscribe-key'
});
Publish and Subscribe
In the last step, you have created an array that hold all canvas coordinates. In this step, you are going to send one user’s drawing path data to PubNub network, also receive path data from other users.

To send data, all you have to do is broadcast the array to the channel with one of the data stream APIs, publish(). Simply add these lines of code in your endDraw() function, just before emptying array.
pubnub.publish({
    channel: channel,
    message: {
    	plots: plots // your array goes here
    }
});
To retrieve the published data, you simply need subscribe().
pubnub.subscribe({
	channel: channel,
  	callback: drawFromStream
});
Once you successfully retrieve the data object from the stream, call the callback function to draw lines from the received array data on canvas, just like you did in the last step.
function drawFromStream(message) {
  	if(!message) return;

  	ctx.beginPath();
  	drawOnCanvas(message.plots);
}
Ta-da, you just have create a very simple multi-user canvas app!
If you are interested in, read on the entire tutorial, at PubNub Blog!
- ← Responsive Web Made Easier with Chrome DevTools Device Mode
- Hardware Hacking for JavaScript Peeps- How I Got My Hands on Breadboards and Resistors →
